Introduction to Self-Custody and Exchange Withdrawals
Moving cryptocurrency off an exchange is a critical step in taking control of your digital assets and ensuring their security. Exchanges, while convenient for buying and selling crypto, are not designed for long-term storage and can be vulnerable to hacking and other security breaches. By transferring your crypto to a self-custody wallet, you gain full control over your assets and significantly reduce the risk of loss due to exchange-related issues.
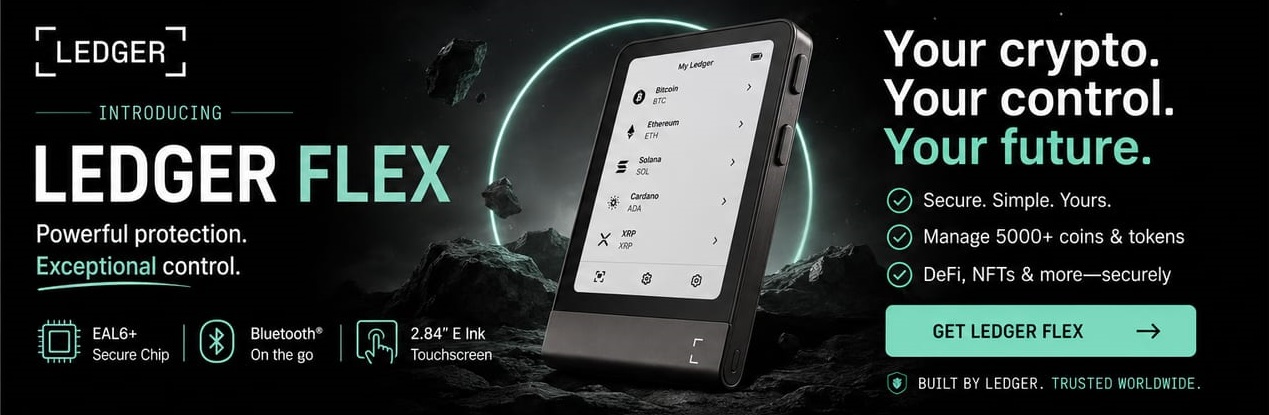
Step 1: Setting Up a Self-Custody Wallet
The first step in moving your crypto off an exchange is to set up a self-custody wallet. This type of wallet allows you to store your cryptocurrency securely and gives you full control over your private keys. There are various types of self-custody wallets available, including hardware wallets, which are considered to be among the most secure options. When choosing a wallet, it's essential to select one that supports the type of cryptocurrency you wish to store and is compatible with your device.
Step 2: Obtaining the Receive Address
Once you have set up your self-custody wallet, you need to obtain the receive address for the specific cryptocurrency you want to transfer. This address is unique to your wallet and is used by the exchange to send your crypto to your wallet. It's crucial to ensure that you are using the correct address to avoid sending your funds to the wrong destination.
Step 3: Adding the Address at the Exchange
After obtaining your wallet's receive address, you need to add it to the exchange from which you are withdrawing your crypto. This process typically involves logging into your exchange account, navigating to the withdrawal section, and entering your wallet's receive address. It's essential to double-check that the address is correct to prevent any potential issues with the transfer.
Step 4: Selecting the Correct Network
When withdrawing crypto from an exchange, it's critical to select the correct network to match the one expected by your wallet. A mismatch can result in the permanent loss of your funds. For example, if your wallet expects funds to be sent over the Bitcoin network, but you select the Ethereum network at the exchange, your funds may be lost forever. Always ensure that the network selected at the exchange matches the one your wallet is set up to receive.
Step 5: Withdrawing a Small Test Amount
Before transferring the bulk of your crypto, it's a good practice to withdraw a small test amount to your wallet. This step acts as a cheap insurance policy against potential mistakes, such as using the wrong address or network. By testing the withdrawal process with a small amount, you can verify that everything is set up correctly and avoid significant losses in case of an error.
Step 6: Withdrawing the Remaining Balance
After successfully testing the withdrawal process with a small amount, you can proceed to transfer the rest of your crypto to your self-custody wallet. Ensure that you are aware of any withdrawal fees and minimums imposed by the exchange and the network you are using, as these can vary significantly. It's also important to be patient, as withdrawal times can differ depending on the exchange, network congestion, and other factors.
Additional Considerations
Exchanges may have additional requirements or restrictions that you should be aware of when withdrawing your crypto. For example, there may be a holding period for recent fiat deposits, or a delay for newly whitelisted addresses. Checking the exchange's policies and documentation can help you understand these requirements and plan your withdrawal accordingly.